Firestore 整合
基本設定
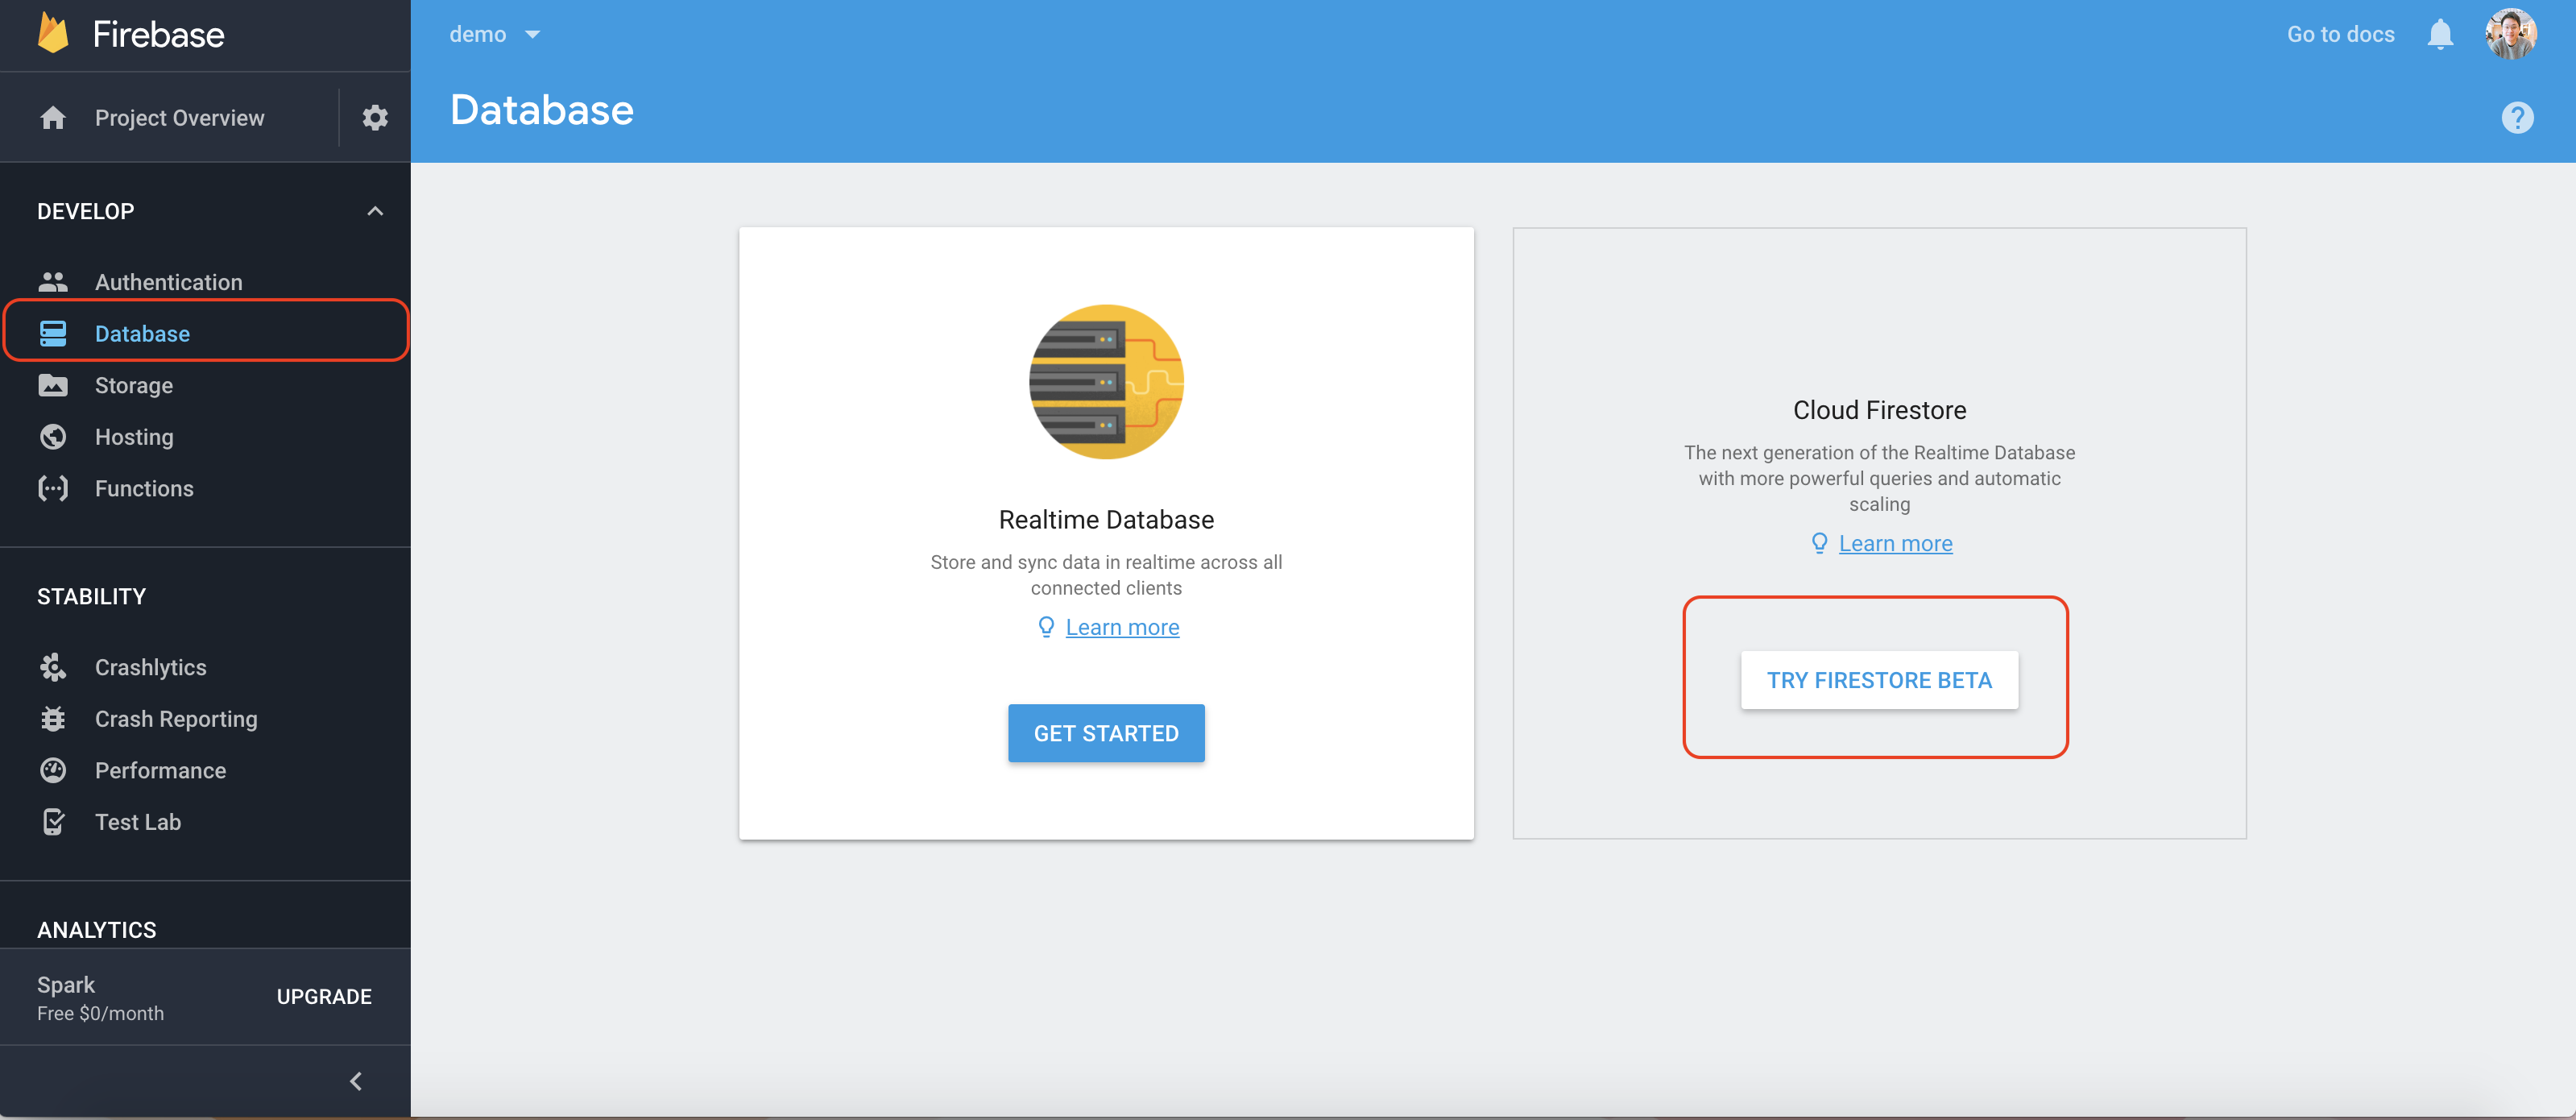
1. 啟用 Firestore
首先您要先至 Firebase 中開啟 Firestore 的功能。
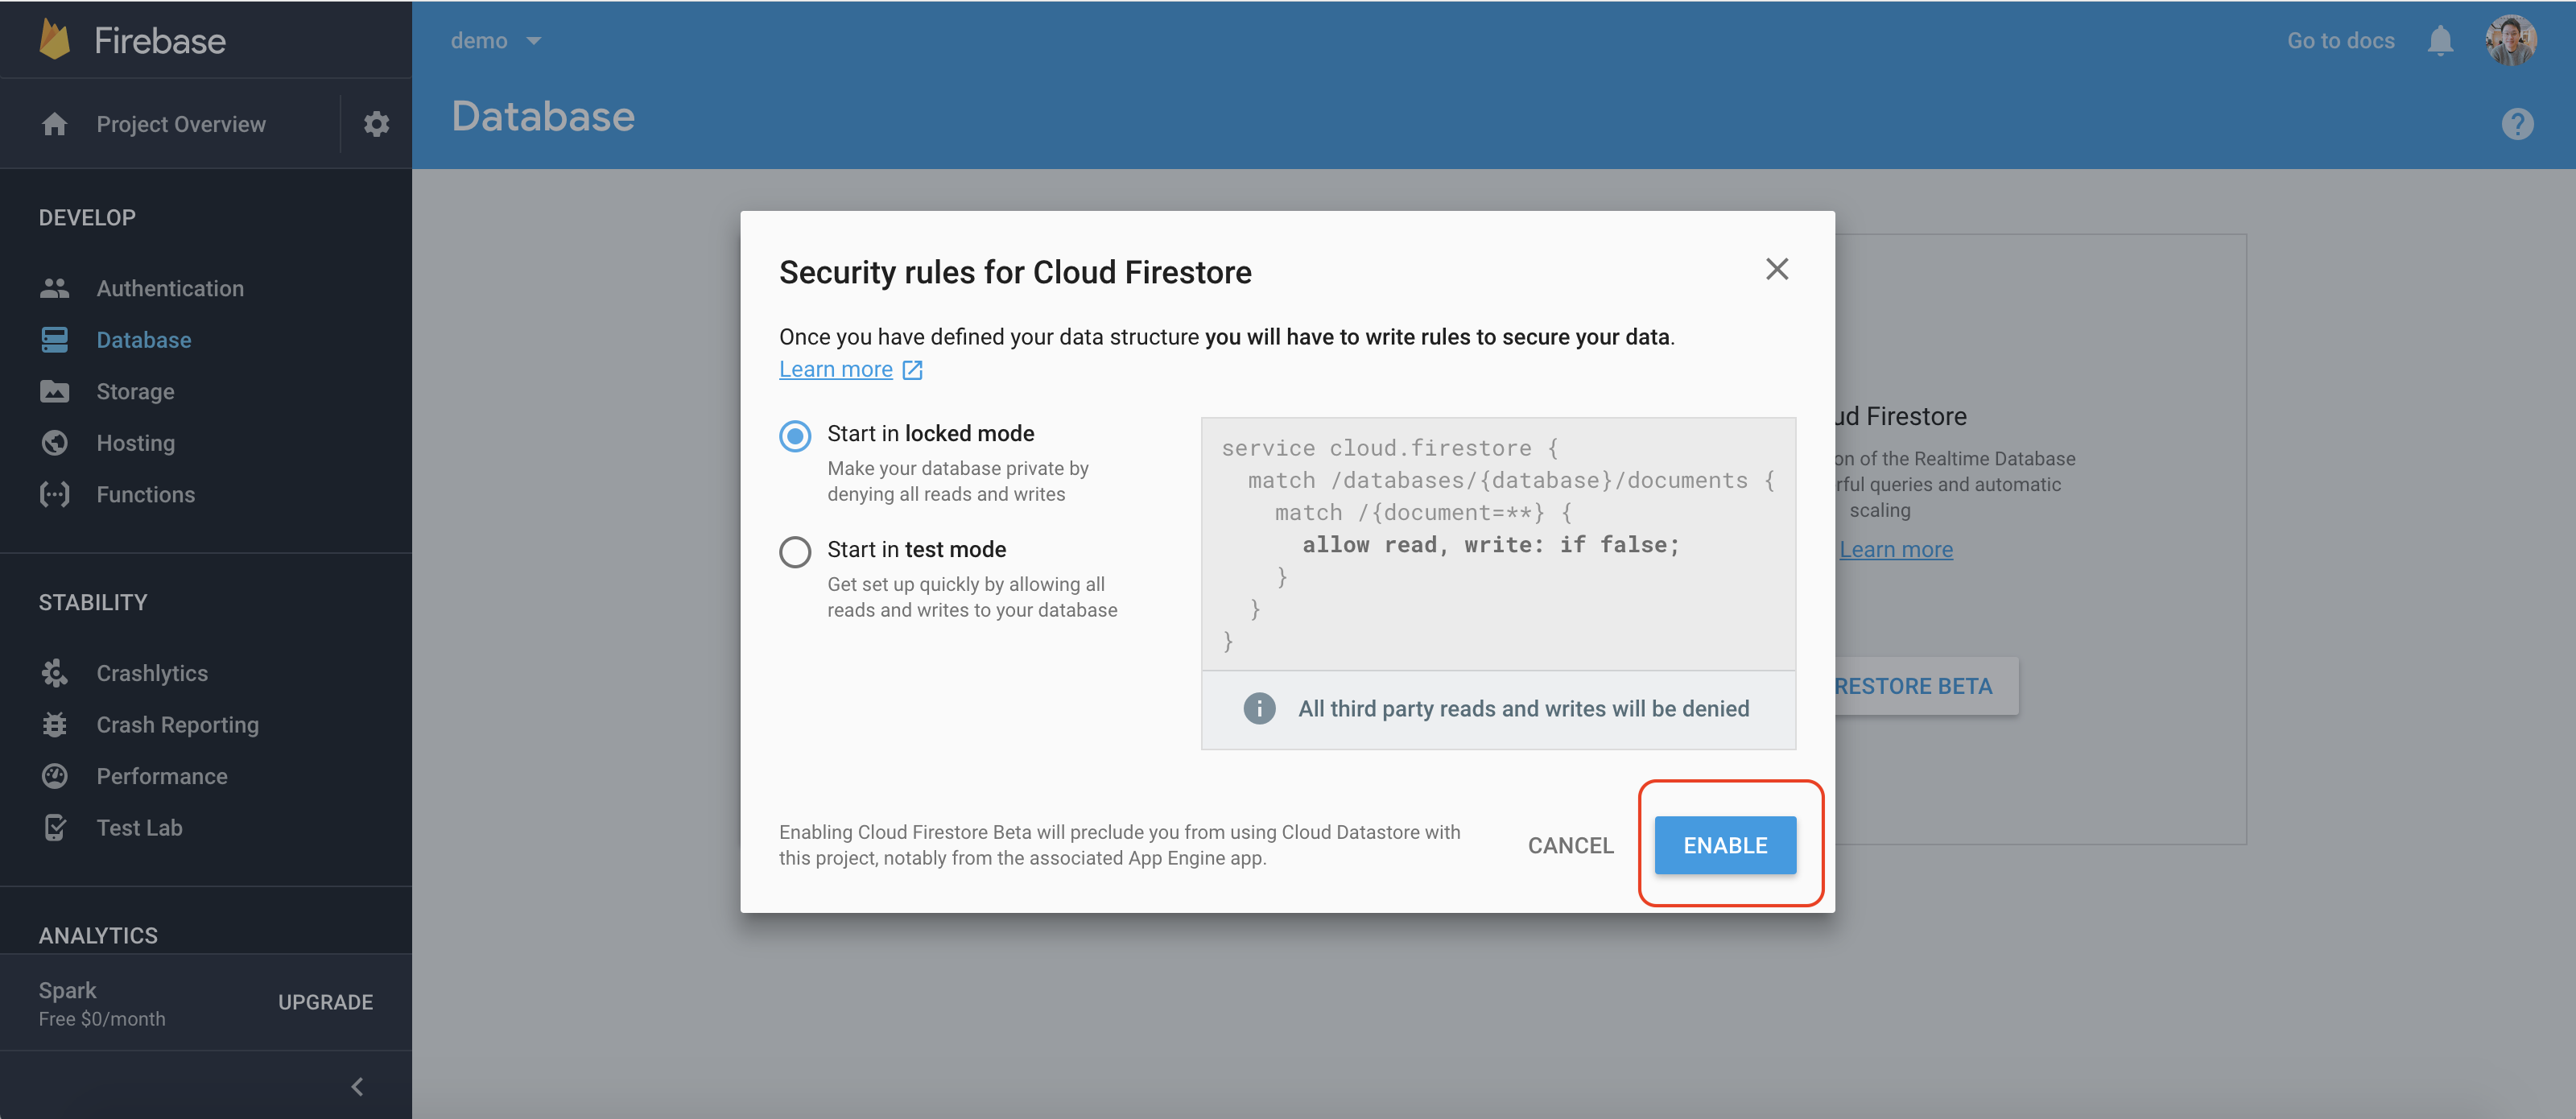
然後啟用 Firestore
1. Firebase Key
Firebase Key 可以在撰寫 canner.schema.js 的時候,利用 CannerTypes 去設定,第一層 key 都可以有自己獨立的 Firebase 資料庫只要給予設定檔即可。
設定 Firestore endpoint, use CannerTypes.endpoint('firebase.firestore.admin', config);
1 2 3 4 5 6 7 8 9 10 11 12 13 14 15 16 17 18 19 20 21 22 23 24 25 26 27 28 29 30// setup the default firebase configuration to firestore, `firebase.firestore.admin` tells the CMS connect to your firestore endpoint const page1 = CannerTypes.object({...fields}) .title('page1') .description('the info of the page1 page') // page1 key will read this endpoint .endpoint('firebase.firestore.admin', { // Firebase configuration, these data can be found in project overview in firebase apiKey: "API KEY", authDomain: "AUTH DOMAIN", databaseURL: "DATABASE URL", projectId: "PROJECT ID", storageBucket: "STORAGE BUCKET", messagingSenderId: "MESSAGING SENDER ID" }); const page2 = CannerTypes.object({...fields}) .title('page2') .description('the info of the page2 page') // page2 key will read this endpoint .endpoint('firebase.firestore.admin', { // Firebase configuration, these data can be found in project overview in firebase apiKey: "API KEY", authDomain: "AUTH DOMAIN", databaseURL: "DATABASE URL", projectId: "PROJECT ID", storageBucket: "STORAGE BUCKET", messagingSenderId: "MESSAGING SENDER ID" }); module.exports = {page1, page2};
但在大部分的情況下你可以使用 CannerTypes.endpoint 這個方法設定預設的 Firebase,任何沒有獨自設定的 key 都會採用預設的設定檔。
1 2 3 4 5 6 7 8 9 10 11 12 13 14 15 16 17 18 19 20 21 22 23 24 25 26 27 28 29 30 31 32 33 34 35// 這是預設的設定檔 CannerTypes.endpoint('firebase', { // 這些設定可以在 firebase 的專案總覽找到 apiKey: "API KEY", authDomain: "AUTH DOMAIN", databaseURL: "DATABASE URL", projectId: "PROJECT ID", storageBucket: "STORAGE BUCKET", messagingSenderId: "MESSAGING SENDER ID" }) // home 會採用上述預設的 Firebase const home = CannerTypes.object({...fields}) .title('首頁') .description('設定首頁的資訊'); // about 會採用自己的 Firebase const about = CannerTypes.object({...fields}) .title('關於我們') .description('設定關於我們的資訊'); .endpoint('firebase', { // these data can be found in project overview in firebase apiKey: "API KEY2", authDomain: "AUTH DOMAIN2", databaseURL: "DATABASE URL2", projectId: "PROJECT ID2", storageBucket: "STORAGE BUCKET2", messagingSenderId: "MESSAGING SENDER ID2" }); module.exports = { home: home, about: about }
2. 下載私密金鑰
設定好 canner.schema.js 後,下載 firebase 所提供的私密金鑰並將檔名更改成 [projectID].json 放置在 cert 資料夾中 。
私密金鑰可以在 https://console.firebase.google.com/project/[PROJECT_NAME]/settings/serviceaccounts/adminsdk 找到。
3. 上傳 schema 和資料
上傳 schema 時用:
canner schema:deploy輸入資料時:
canner data:import將 canner.data.js 上傳到 Firebase,只限於 Firebase 的資料與 canner.data.js 毫無重複時才會上傳,若要覆蓋資料則使用 canner data:import -d, --dropFirst 進行上傳,看更多資訊